SFTP Access
SFTP is a secure and convenient way to access, browse and download large Experiments, Datasets and Files in MyTardis. Importantly, the SFTP interface to MyTardis is read only i.e., it is a mechanism to access data in MyTardis but does not allow adding data to MyTardis.
Prerequisites for accessing data via SFTP
In order to access data on MyTardis via SFTP, you will first need to install an SFTP client. There are many free and commercial SFTP clients for you to choose from; however, we recommend Cyberduck (Win & Mac), FileZilla (All platforms) or WinSCP (Win only) for the majority of users. The instructions here will focus on Cyberduck (Win & Mac).
Registering and managing SSH keys in MyTardis
MyTardis uses SSH key pairs to authenticate you when connecting via SFTP. Using SSH keys to authenticate is more secure and private than password-based authentication. SSH keys generally come in a pair: (1) a private part and (2) a public part. Key-based authentication typically requires you to share your public key with the service, again which you use your private key to authenticate. Never share your private key!
MyTardis provide to mechanism for registering a public key:
Adding an existing public SSH key to MyTardis
If you have an existing SSH keypair, you can register the public key in MyTardis. For instructions on how to create an SSH key pair, Gitlab provide some nice documentation on how to do so here.
To register a public key in MyTardis:
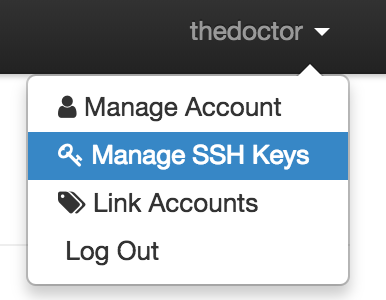
- Navigate to the SSH key management page using the Manage SSH Keys link in the user menu.
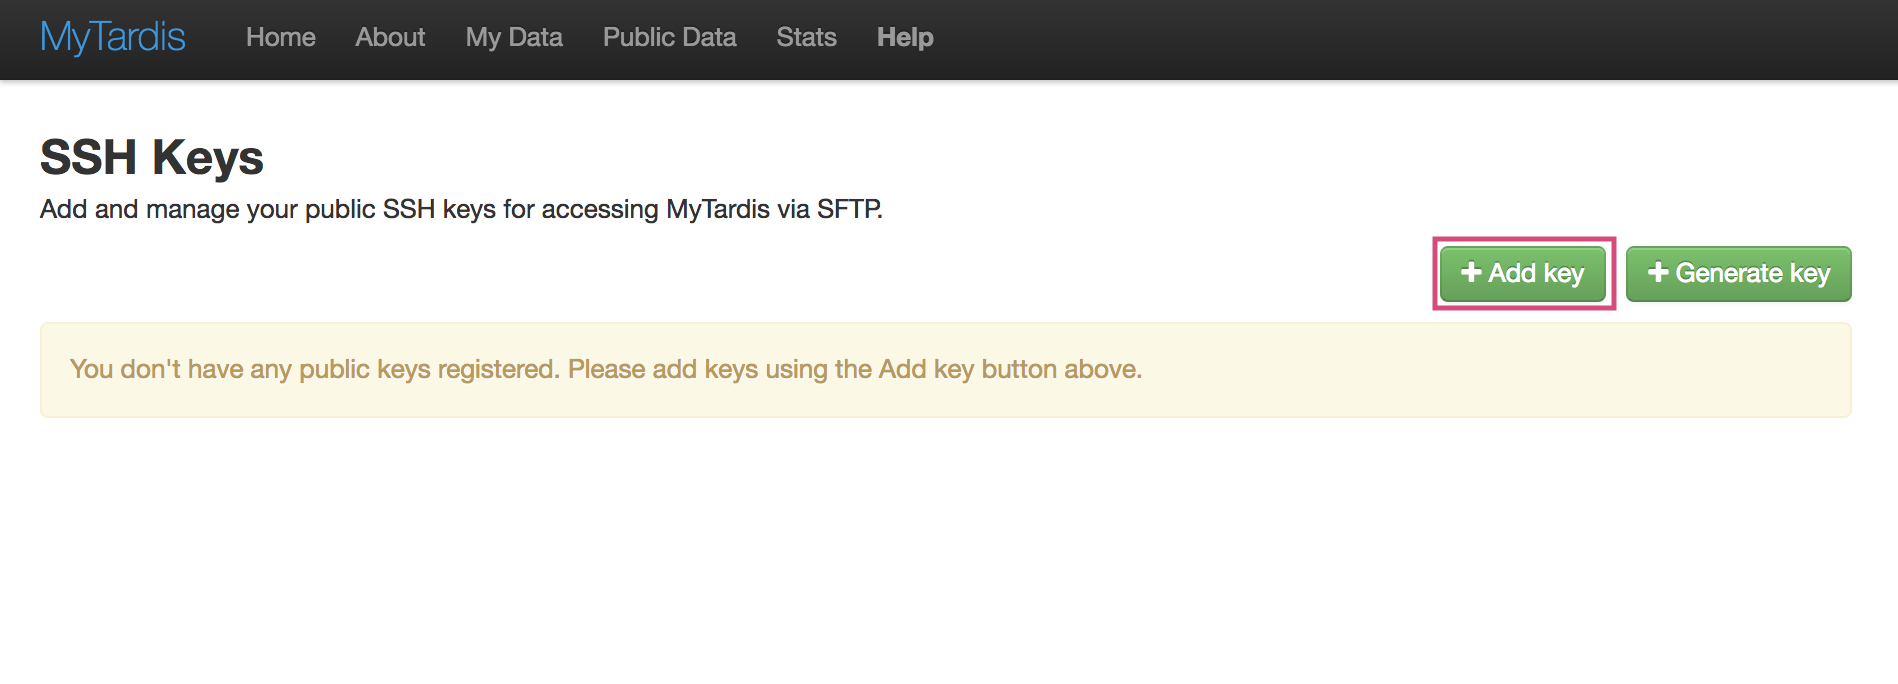
- Click the + Add Key button:
- Fill in the Add SSH Keys form by entering a name for the key and the public key text. The public key text should be in OpenSSH format e.g., ssh-rsa AAAAB3NzaC1yc2EAAAADAQABAAABAQDYZYnXpTP6e/BsQw+….
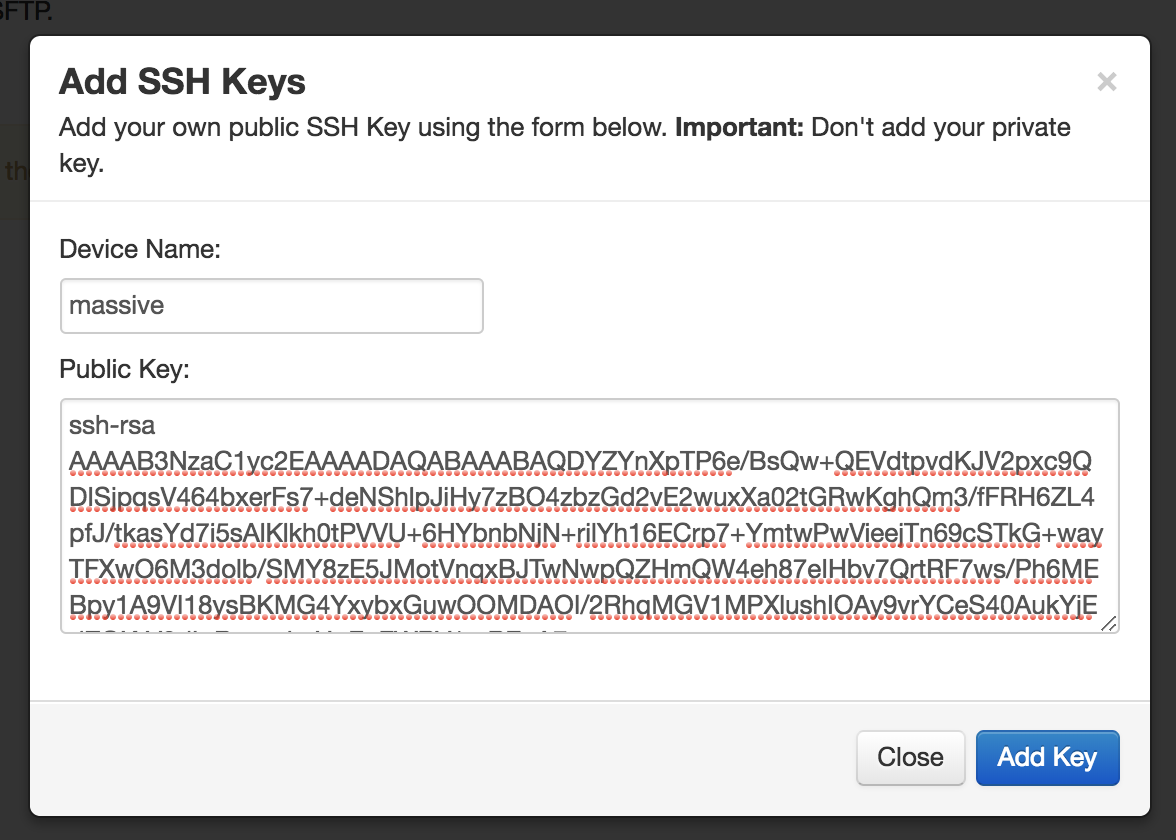
- Click the Add Key button.
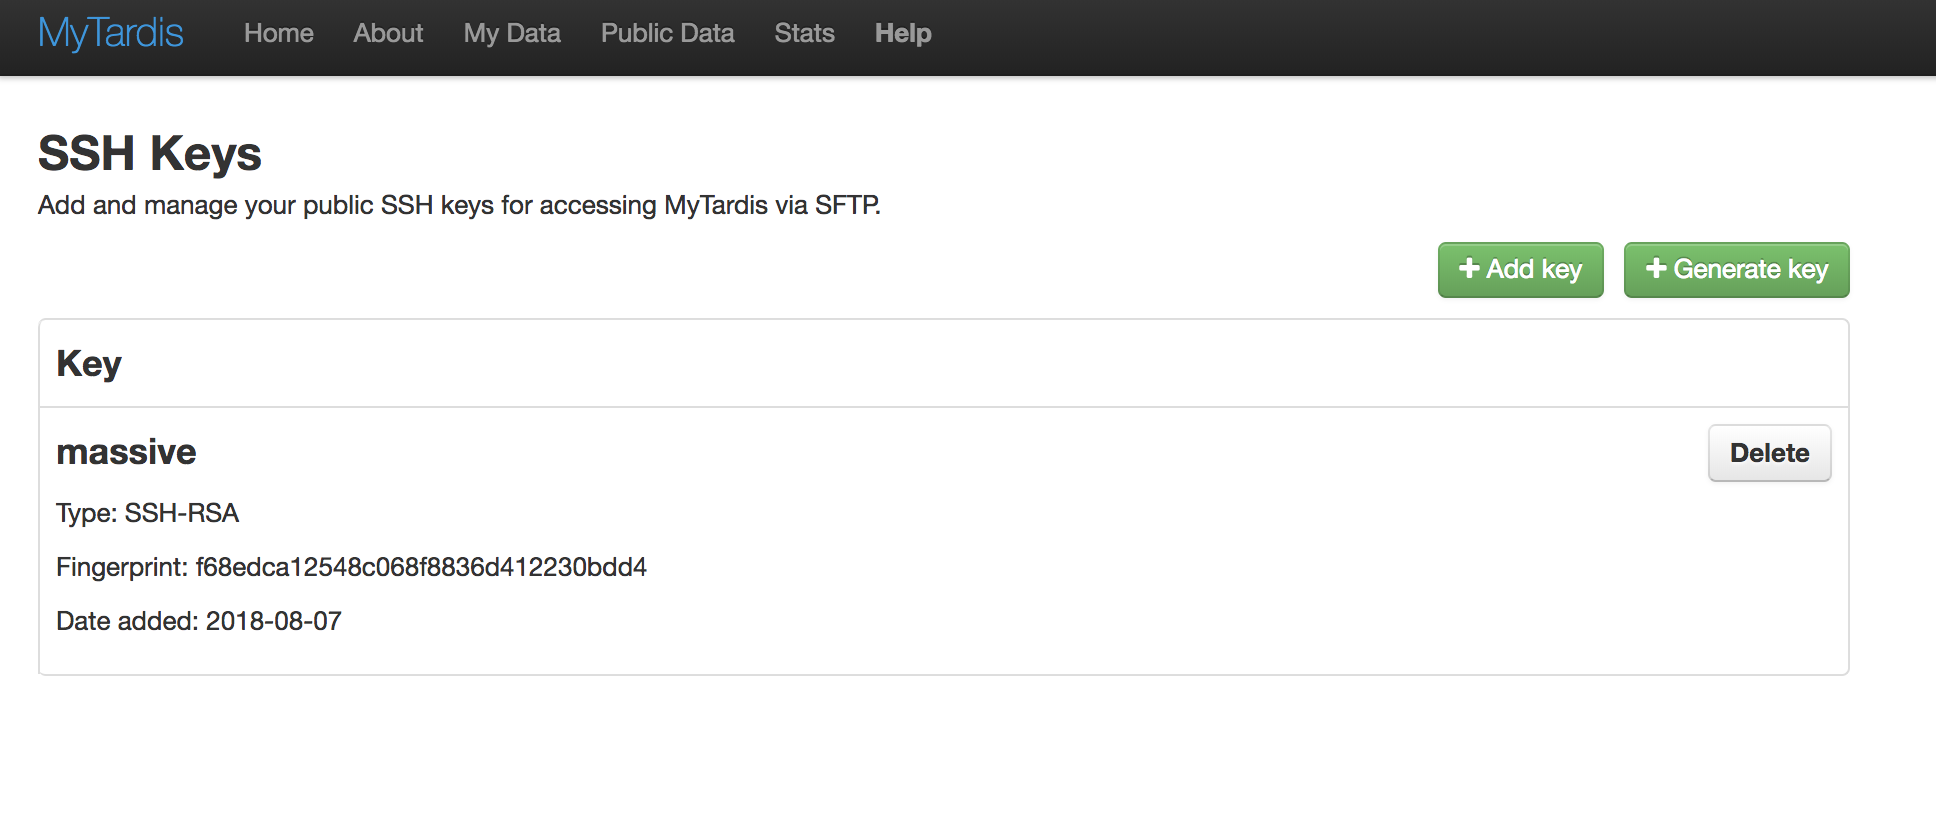
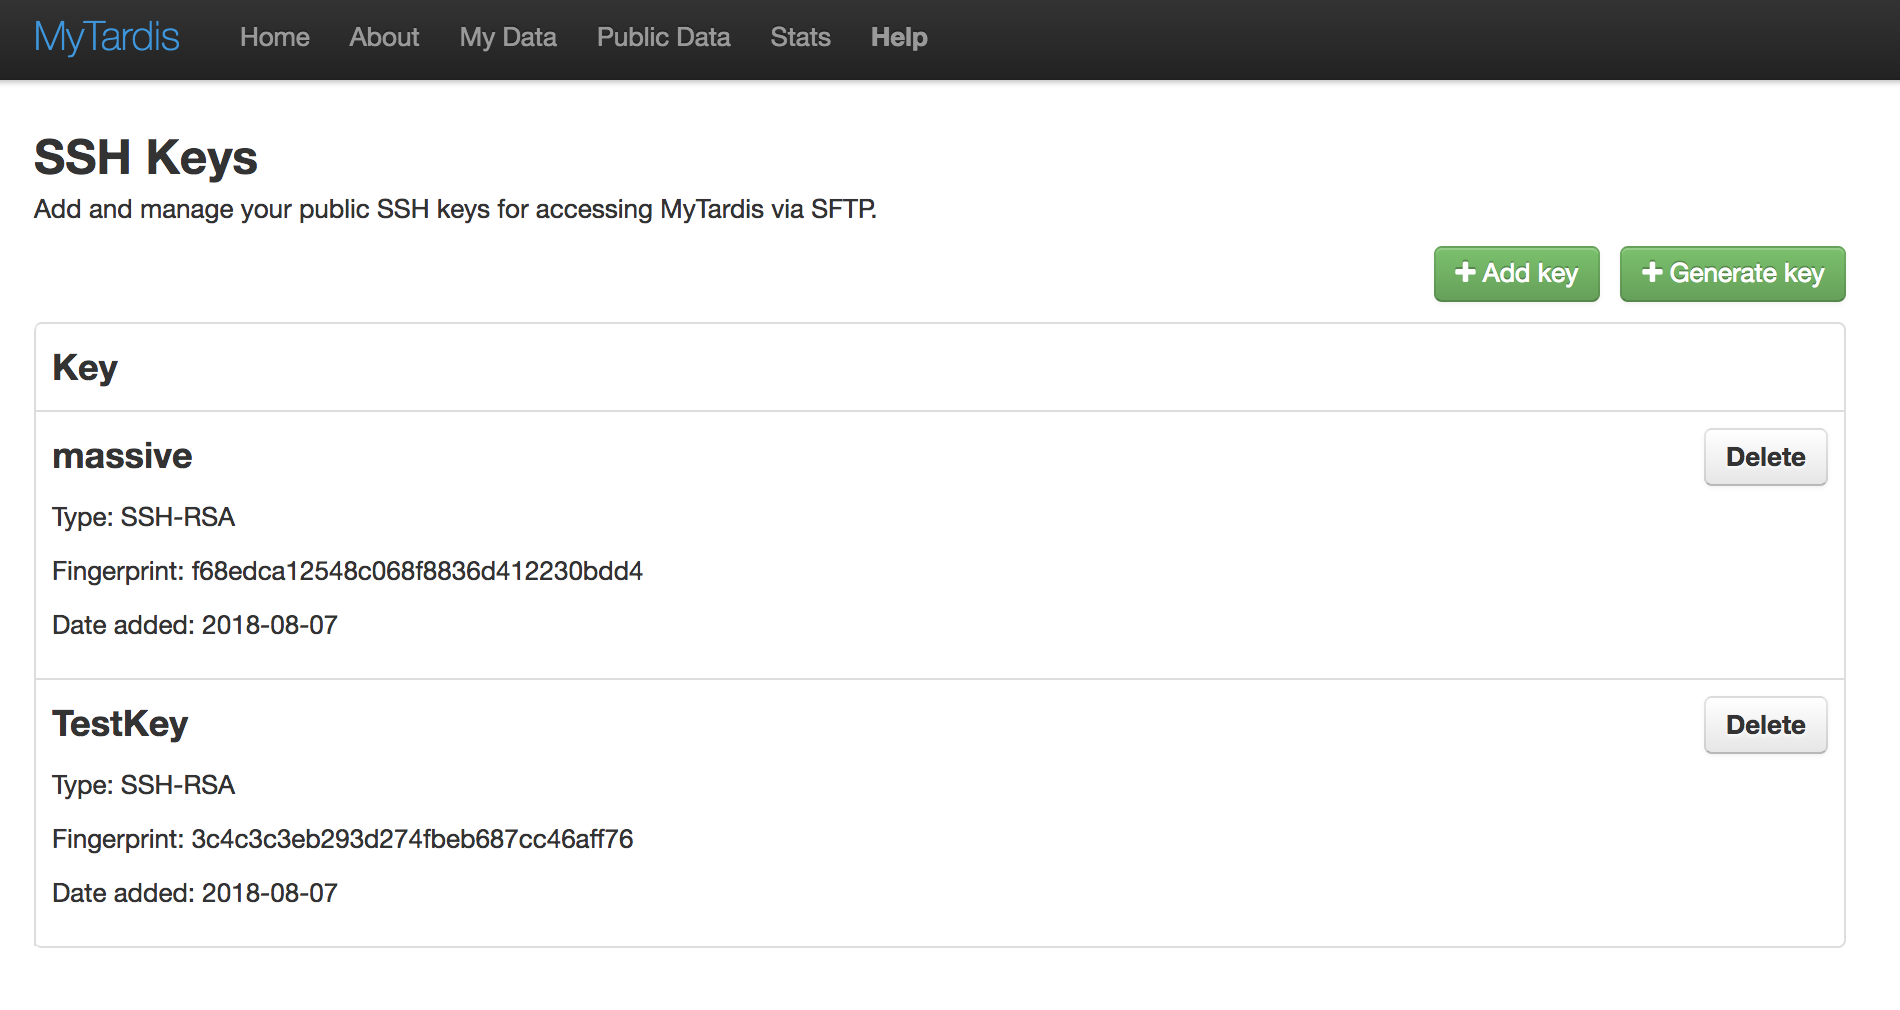
If successful you should get a new entry in the SSH keys table.
Have MyTardis to generate an SSH key pair
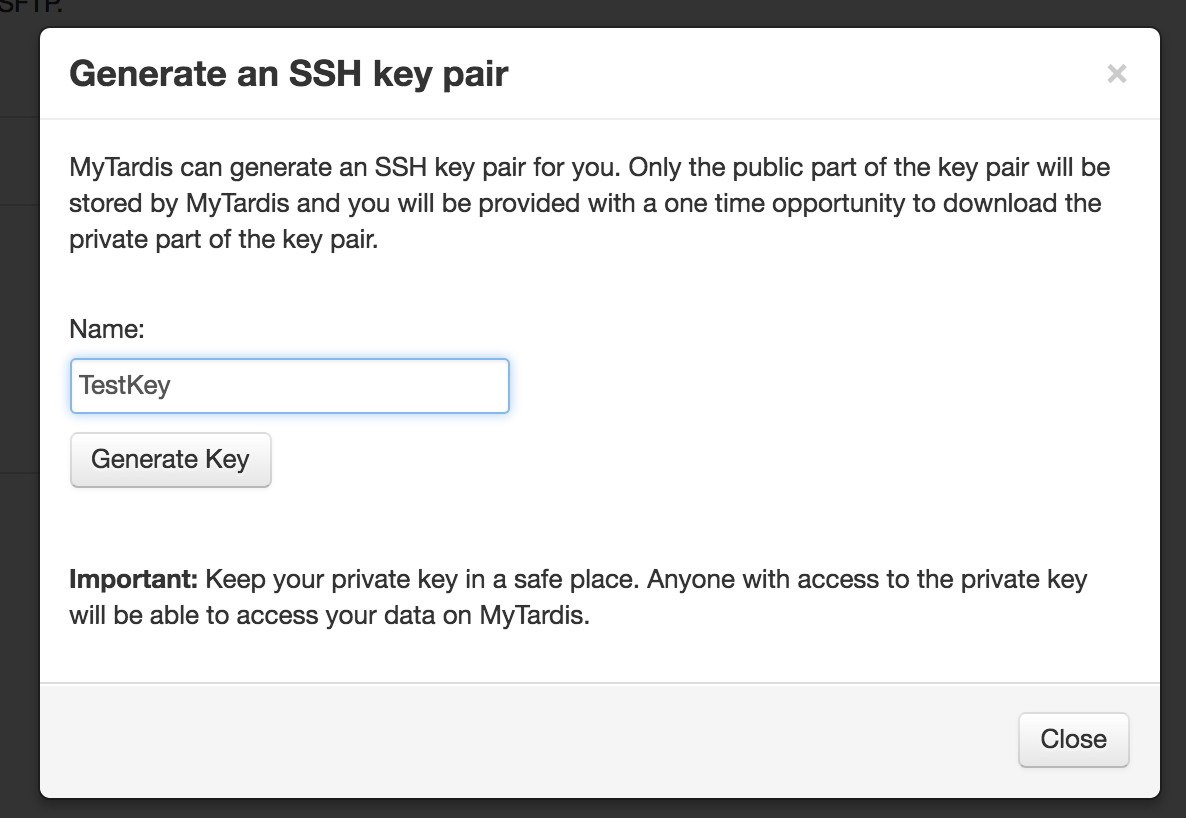
Creating SSH key pairs can be a bit of a challenge, particularly on Windows systems. For this reason, MyTardis provides another you another option for registering a public keys. In this case, MyTardis will generate the key pair for you, store the public part of the key and provide you with a one time opportunity to download the private part of the key.
It is important to note that MyTardis never stores your private key. If you lose/delete it, MyTardis cannot recover it for you. This isn’t really a problem, since MyTardis can always generate another key pair for you; however, you should revoke the public key associated to the lost private key in your account to ensure that no one who gains access to your private key can access your data. See Deleting previously registered public keys in MyTardis.
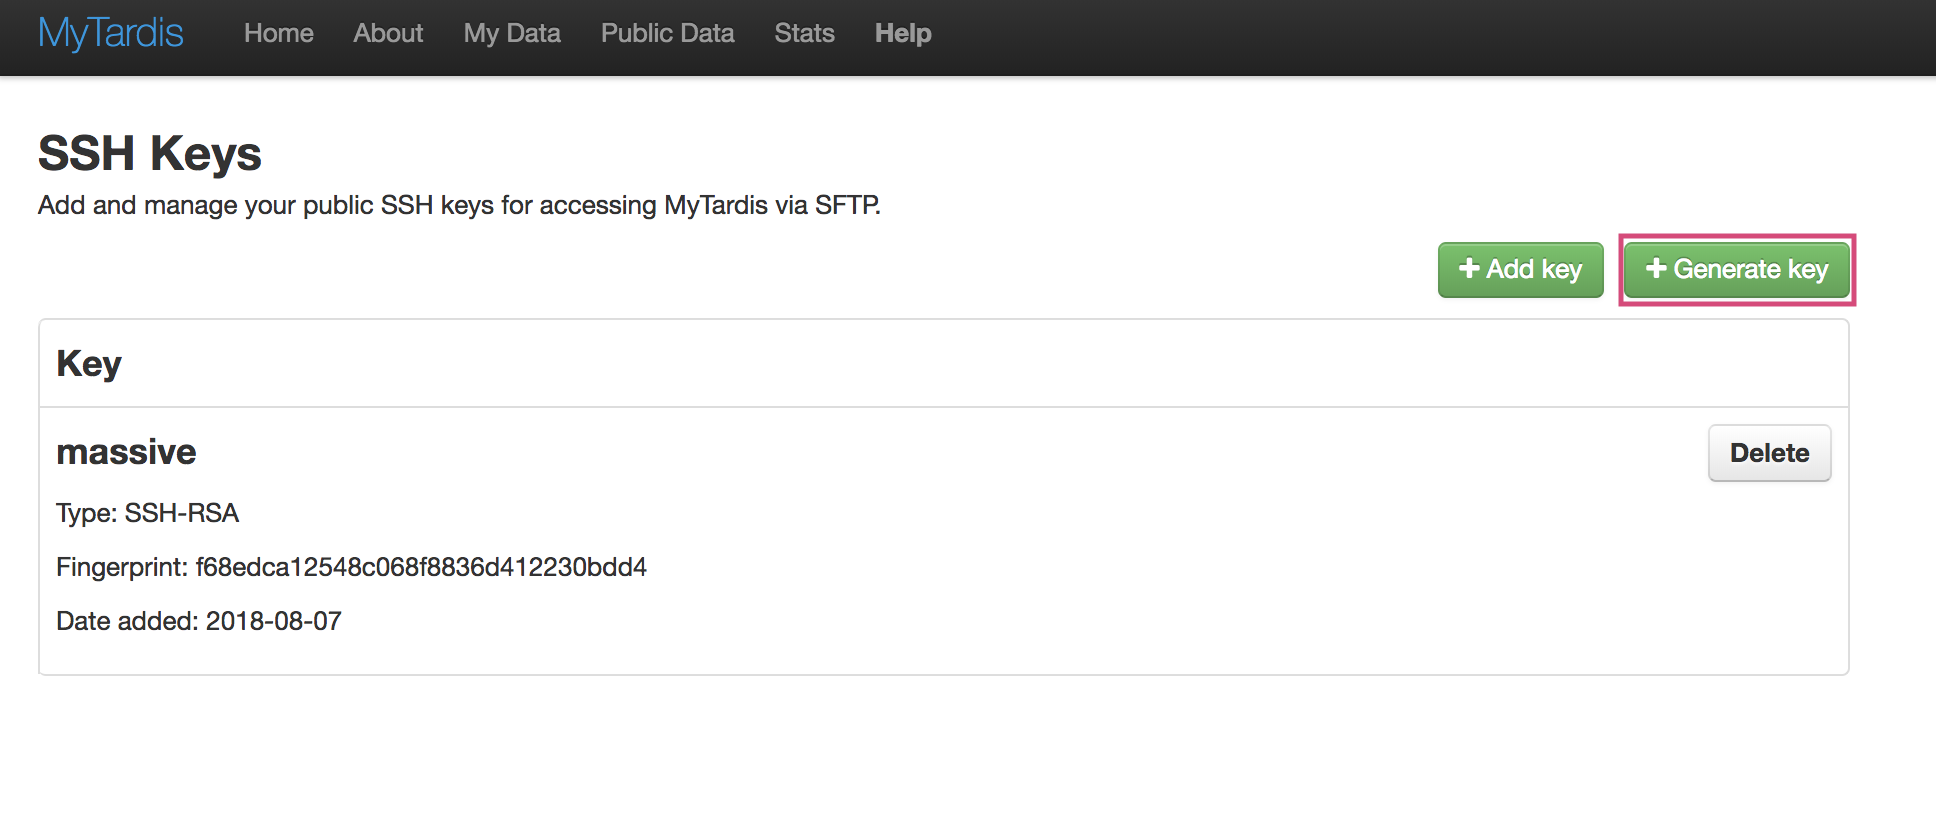
- Navigate to the SSH key management page using the Manage SSH Keys link in the user menu.
- Click the + Generate key button:
- Give the key a name and click the Generate & Download button. The server will generate an SSH key pair, register the public key and trigger your browser to download the private key.
- The SSH keys table will be updated with your newly registered public key.
Deleting previously registered public keys in MyTardis
Removing a previously registered public SSH key from MyTardis is straightforward.
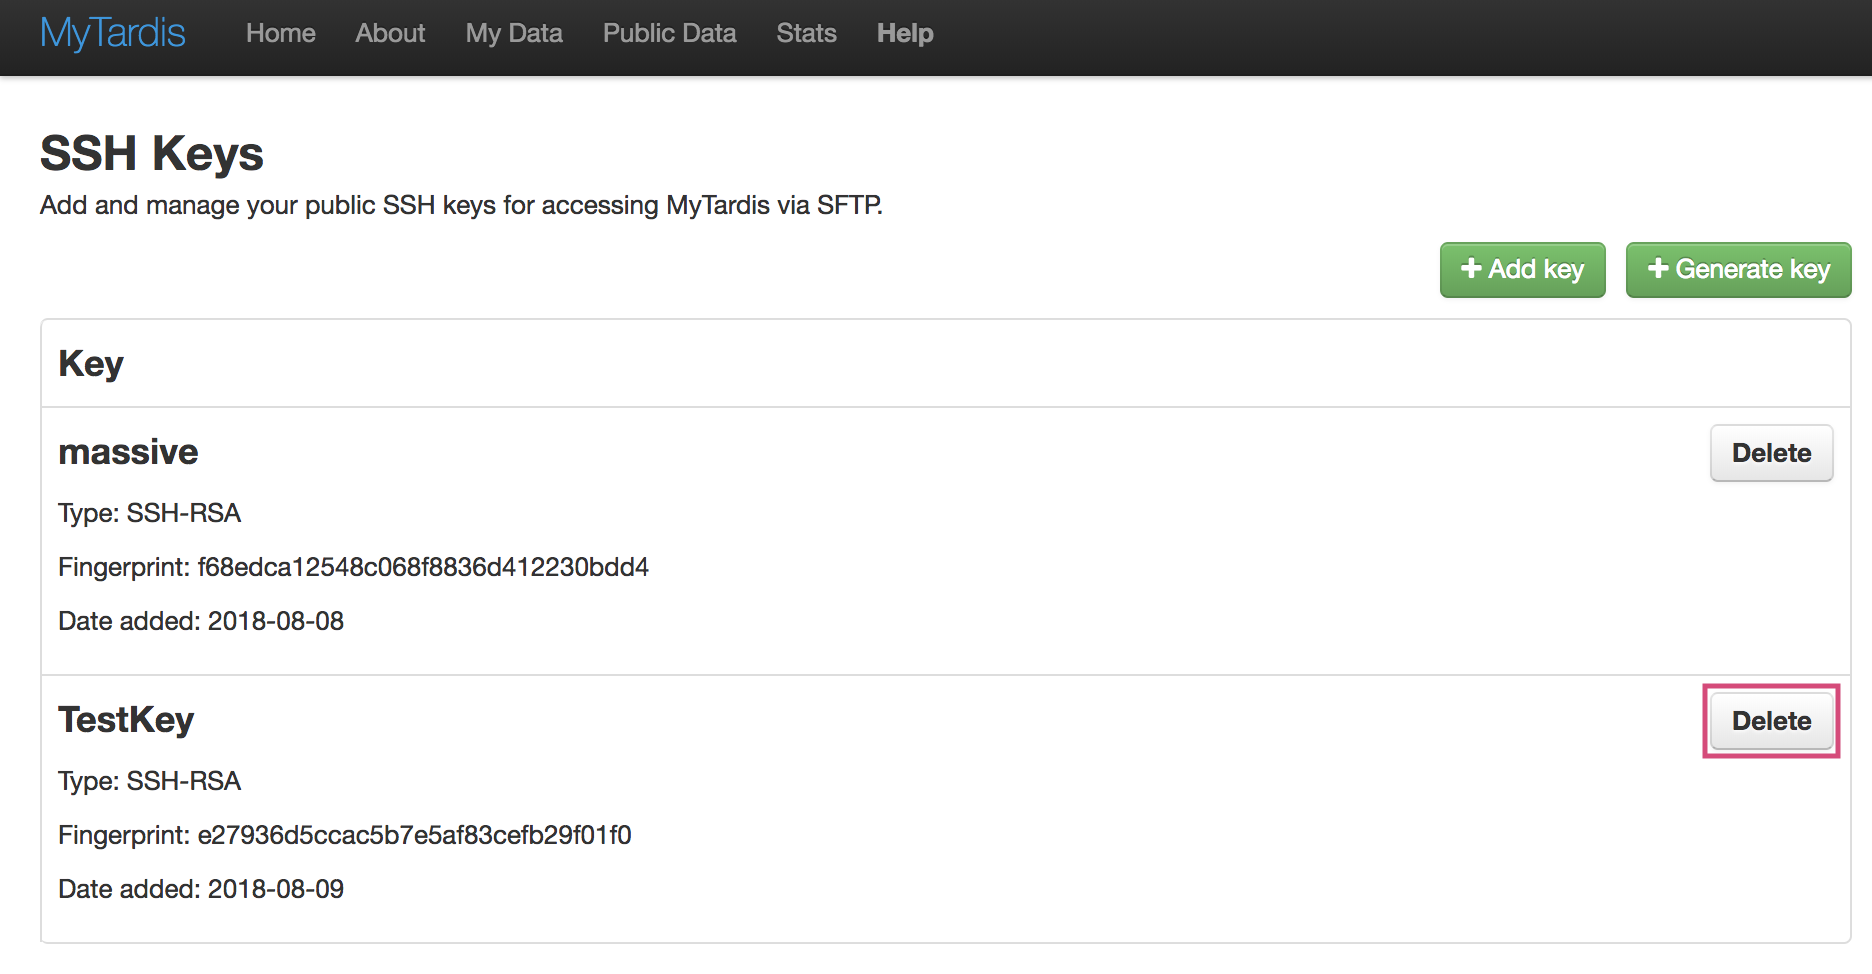
- Navigate to the SSH key management page using the Manage SSH Keys link in the user menu.
- Click the Delete button on the key you wish to remove.
Attempting to connect to MyTardis via SFTP using the private sister key to the deleted key will no longer work.
Connecting to MyTardis via SFTP
- Open your SFTP client and create a new connection with the following configuration:
Parameter Value Server: URL for your MyTardis deployment e.g. https://store.erc.monash.edu Port: Port on which SFTP server is running Username: Your MyTardis username Password: Leave this blank SSH Private Key Path to a private SSH key [1] Note: substitute your credentials and details for your MyTardis deployment for the italicised values. If you are unsure about any of these value, please contact your system admin should be able to provide these to you.
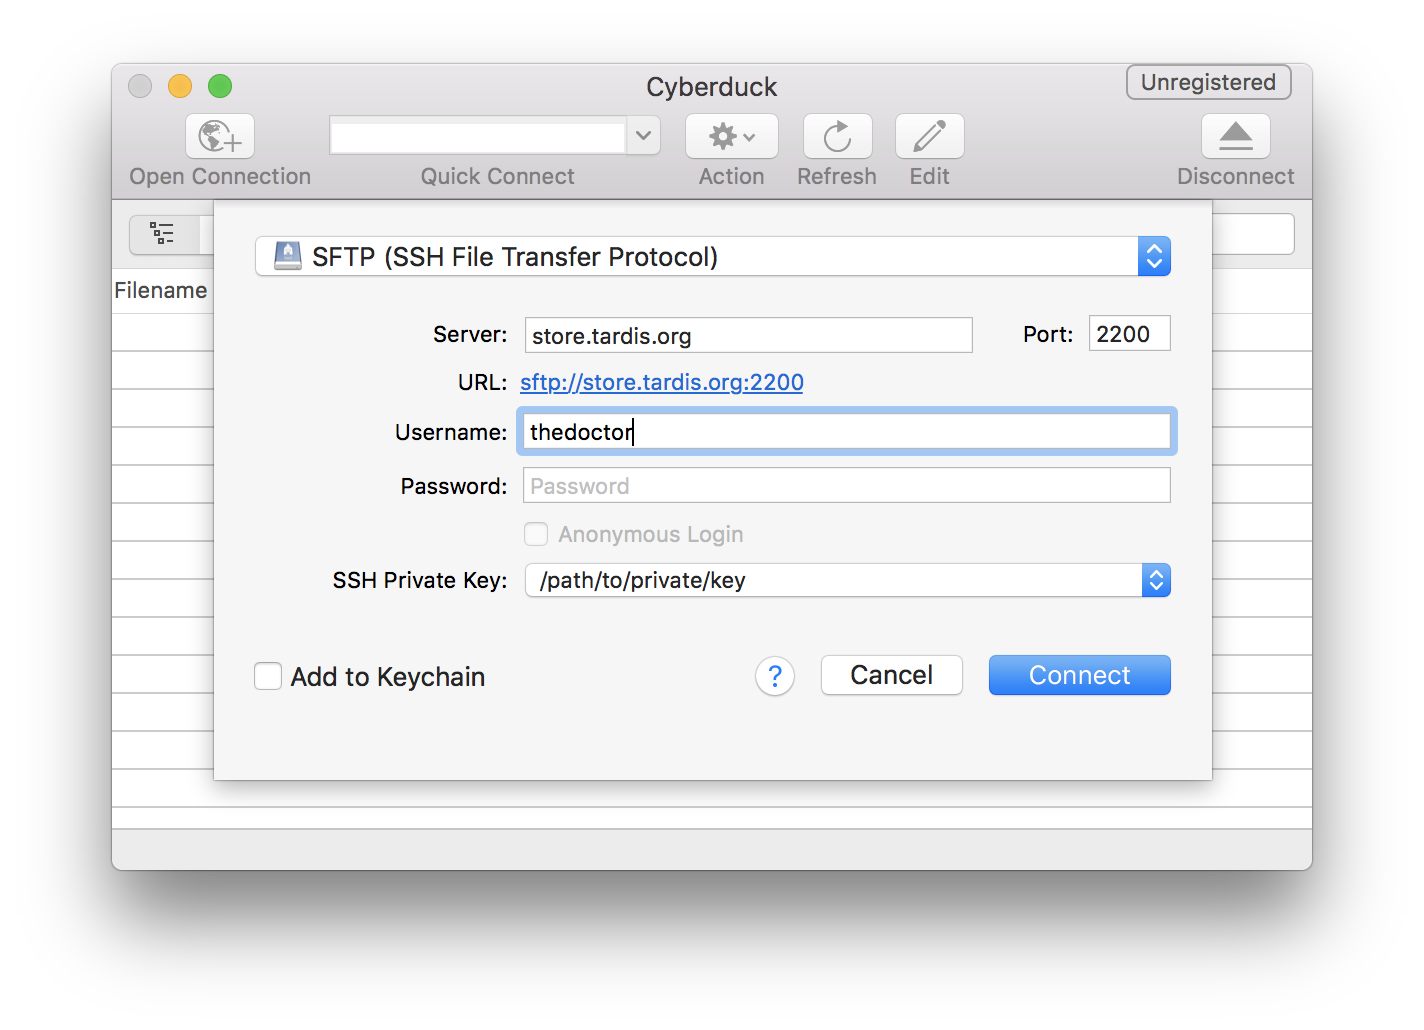
- Click Connect
- Upon successful connection you will be presented with a file browser showing all your data on MyTardis.
Data is organised according to the Experiment/Dataset/Data File hierarchy/structure described in the Organising Data section.
| [1] | You must register the public key in MyTardis first, see Registering and managing SSH keys in MyTardis |
Browse and/or Download a Specific Experiment or Dataset
MyTardis also provides a convenient way to access/browse a particular Experiment or Dataset via SFTP.
- Navigate to the Experiment or Dataset page that you want to access via SFTP using your web browser.
- There is an SFTP button in the Download section on both the Experiment and Dataset views.

- Clicking the SFTP button at either of these two locations will redirect you to a page with instructions and links for starting an SFTP session for a specific experiment or dataset.