Publication Workflow
Basic Usage
Listing Existing Publications and Drafts
Click on “My Publications” in the menu bar to see existing publications and drafts which you have access to:
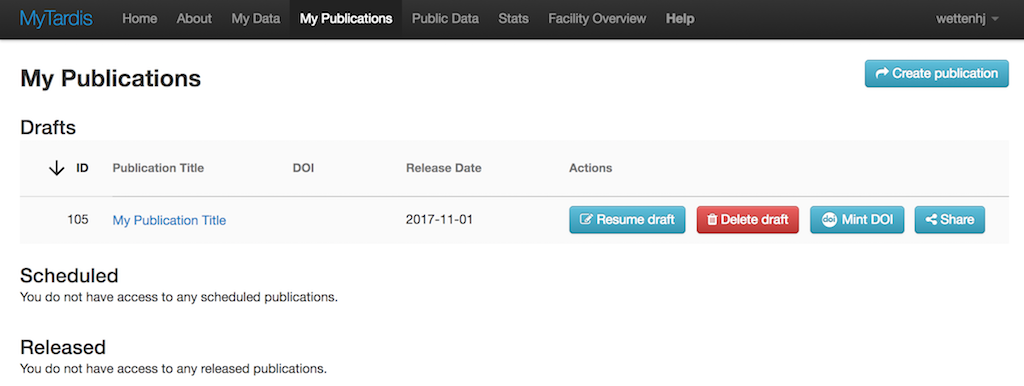
Creating a Draft Publication
From the “My Publications” page, click “Create publication” to begin a draft publication:

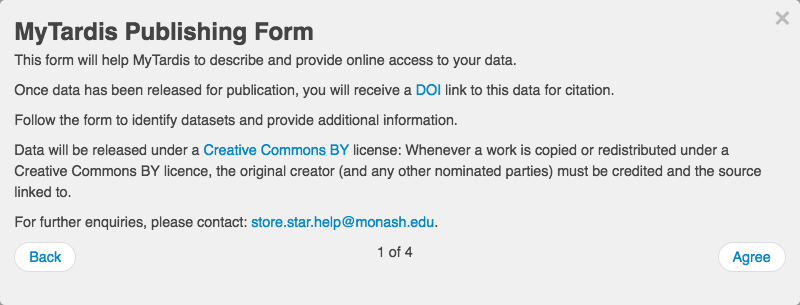
The publication form should appear, showing whatever introductory text has
been configured by your MyTardis administrator, using the
PUBLICATION_INTRODUCTION setting in tardis/settings.py:
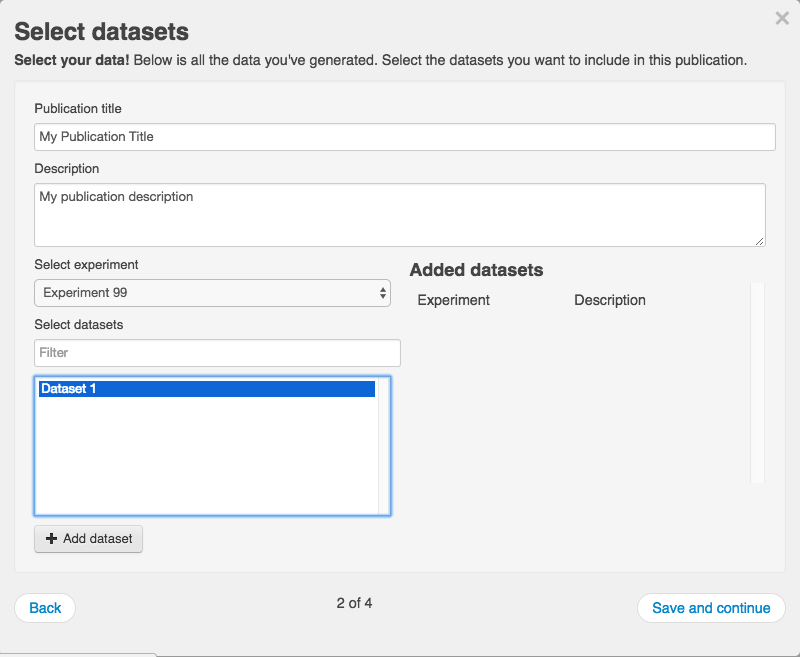
After acknowledging the introductory text, you can begin selecting datasets to include in your publication:
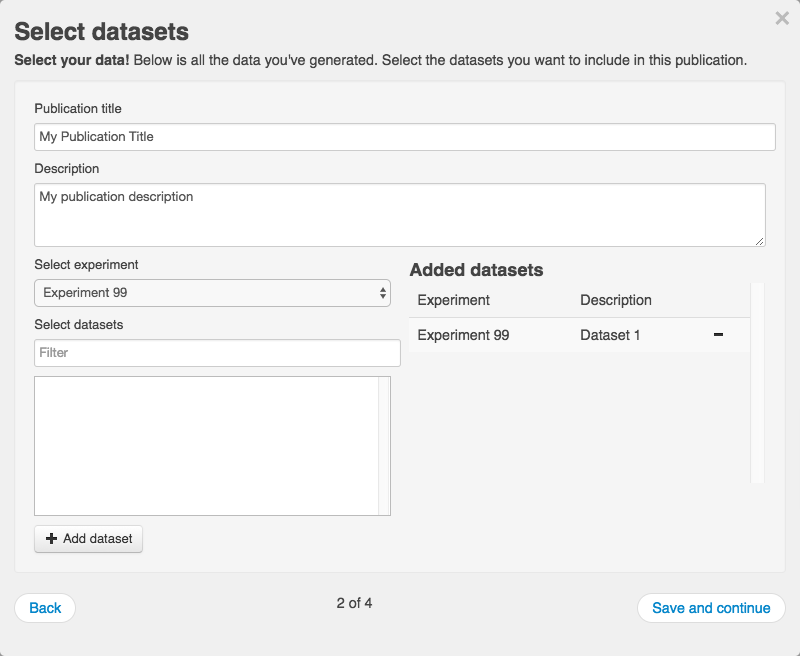
Selected datasets appear on the right:
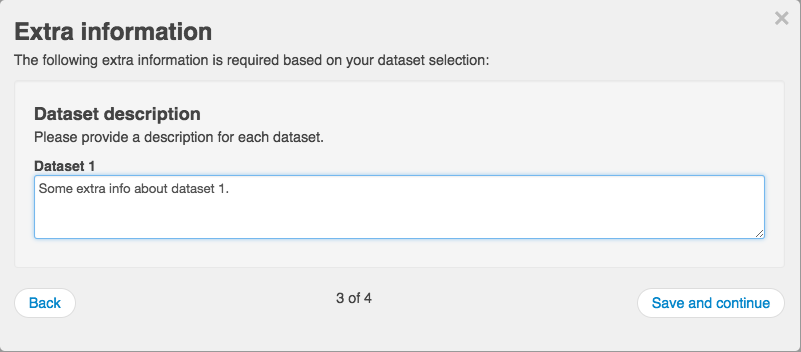
You can then describe each included dataset (beyond what is already in the dataset’s description field):
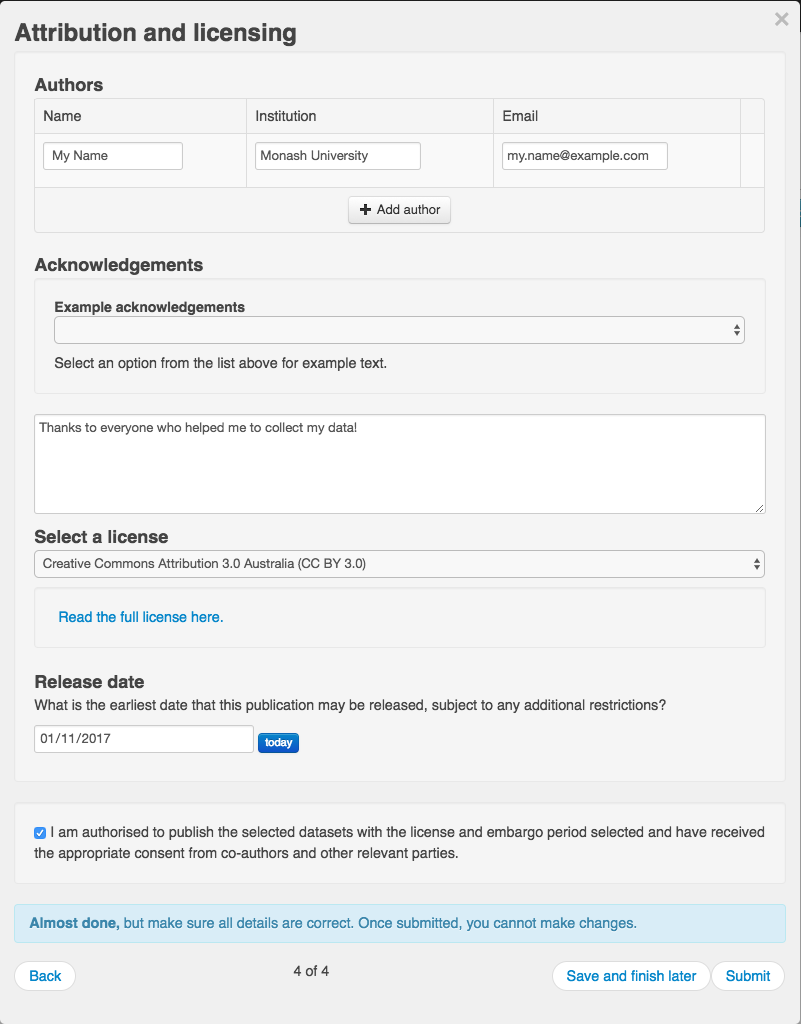
The final page allows you to specify the authors, license, acknowledgements and release date. The last page of the form will be split into two pages in the next version of the publication form.
After clicking “Save and finish Later”, you can see the publication in the Drafts section of the “My Publications” page:
Resuming a Draft Publication
The “Resume draft” button below opens the publication form, allowing you to make further changes:
When resuming a draft, you will be taken straight to the second page of the publication form below, skipping the introductory text:
Deleting a Draft Publication
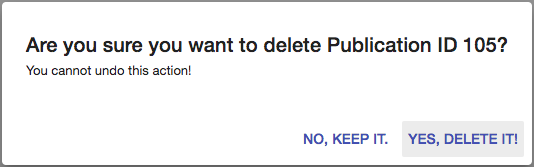
The “Delete draft” button below allowd you to delete a draft publication:
You will be asked to confirm that you really want to delete the draft publication:
Minting a DOI (Digital Object Identifier)
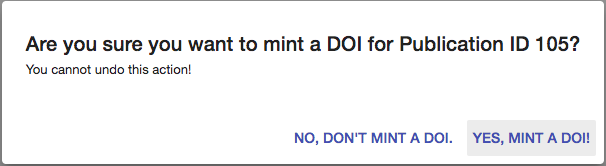
The “Mint DOI” button below allowd you to mint a DOI (Digital Object Identifier):
You will be asked to confirm that you really want to mint a DOI:
Sharing a Draft Publication
The “Share” button below opens temporary links dialog, allowing you grant short-term access (3 months) to the draft publication via a temporary URL:
The first time you click Share, you won’t have any tokens for granting temporary access:

After clicking the “Create New Temporary Link” button, you should see a temporary link:

Submitting a Publication for Scheduled Release
When you are ready to submit your data publication for release, you can click the “Submit” button after checking that you have entered all of the required information, including the date on which the publication should be released.
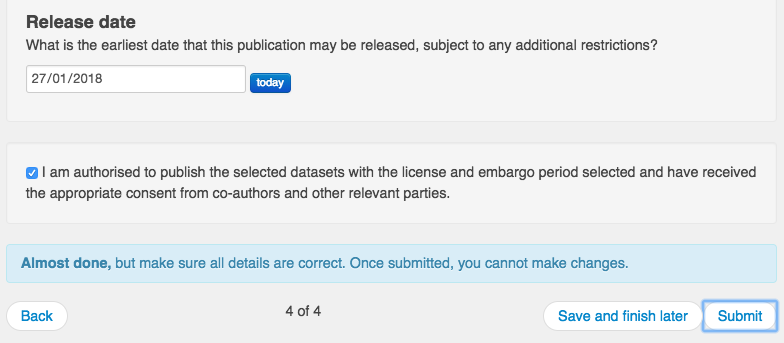
At this point, a DOI (Digital Object Identifier) will be minted and your publication will be moved from the Drafts section of the My Publications page to the Scheduled or the Released section, depending on the Release Date you entered. In the example below, the Release Date was in the future, so the publication appears in the Scheduled section.

Submitting a Publication for Immediate Release
When you are ready to submit your data publication for immediate release, you can click the “Submit” button after checking that you have entered all of the required information, including the date on which the publication should be released (today).
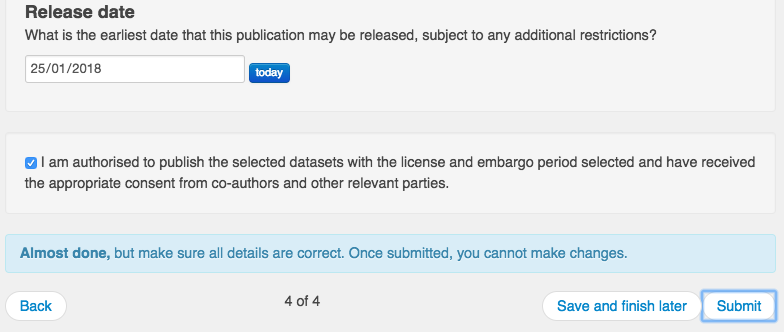
At this point, a DOI (Digital Object Identifier) will be minted and your publication will be moved from the Drafts section of the My Publications page to the Scheduled or the Released section, depending on the Release Date you entered. In the example below, the Release Date was set to today, so the publication appears in the Released section.

For MyTardis System Administrators
Enabling or Disabling the Publication Workflow
The publication workflow is enabled by default in a new MyTardis installation:
tardis/default_settings/apps.py:
...
INSTALLED_APPS = (
    ...
    'tardis.apps.publication_workflow',
    ...
)
If necessary, it can be disabled in tardis/settings.py as shown below:
disabled_apps = ['publication_workflow']
for app in disabled_apps:
    INSTALLED_APPS = filter(lambda a: a != app, INSTALLED_APPS)
When the publication workflow is enabled, you should see the “My Publications” link in the menu bar:

Publication Workflow Settings
To use the default publication workflow settings, add the following to your tardis/settings.py:
from tardis.apps.publication_workflow.default_settings import *
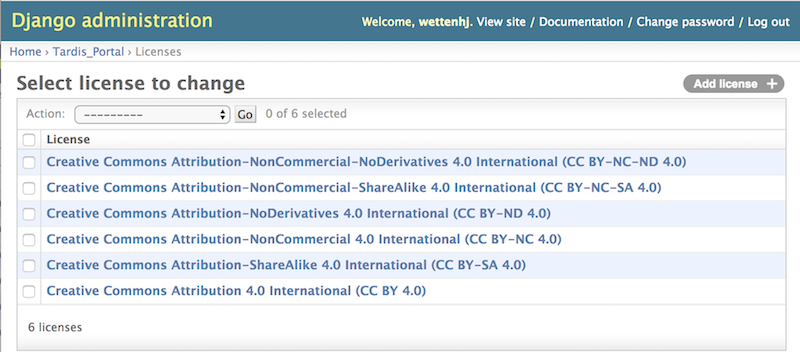
Installing Licenses
The publication workflow app contains Creative Commons licenses in
tardis/apps/publication_workflow/fixtures/licenses.json which
can be installed with:
python mytardis.py loaddata licenses
Minting DOIs
From Wikipedia, “a Digital Object Identifier or DOI is a persistent identifier or handle used to uniquely identify objects, standardized by the International Organization for Standardization”. For example, a DOI of “10.2196/mhealth.3314” can be resolved at http://dx.doi.org/10.2196/mhealth.3314, leading to http://mhealth.jmir.org/2014/4/e50/. DOIs are commonly used to provide permanent links to published articles, but they can also be used to provide permanent links to published data.
MyTardis’s publication workflow provides functionality for minting DOIs using Monash University’s DOI minting service at https://mod.monash.edu and its corresponding test service at https://vera186.its.monash.edu/modc/. DOIs can be minted manually by MyTardis system administrators, or from the user interface provided in the “My Publications” view.
To get started, you need to register your MyTardis service as a “Webservice App” in Monash’s DOI-minting service at https://mod.monash.edu or in its corresponding test service at https://vera186.its.monash.edu/modc/.
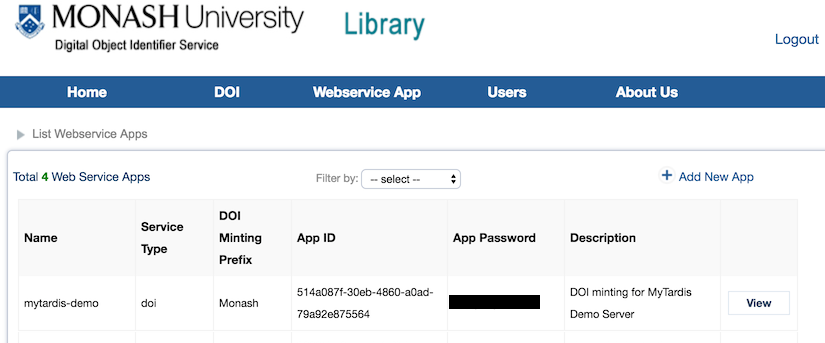
Then you need to configure your MyTardis’s tardis/settings.py to use the DOI minting service. For the “mytardis-demo” DOI-minting application registered above on https://vera186.its.monash.edu/modc/, we can use the following settings:
MODC_DOI_ENABLED = True
MODC_DOI_API_ID = '514a087f-30eb-4860-a0ad-79a92e875564'
# Use the real API password here:
MODC_DOI_API_PASSWORD = '********'
MODC_DOI_MINT_DEFINITION = 'https://vera186.its.monash.edu/modc/ws/MintDoiService.wsdl'
MODC_DOI_ACTIVATE_DEFINITION = 'https://vera186.its.monash.edu/modc/ws/' \
                               'ActivateDoiService.wsdl'
MODC_DOI_DEACTIVATE_DEFINITION = 'https://vera186.its.monash.edu/modc/ws/' \
                                 'DeactivateDoiService.wsdl'
MODC_DOI_ENDPOINT = 'https://vera186.its.monash.edu/modc/ws/'
# The MODC_DOI_MINT_URL_ROOT should be set to the base URL of your publicly
# accessible MyTardis server.  You can't test the DOI-minting functionality
# from a local dev environment (http://127.0.0.1:8000), because the URL you
# are minting a DOI for needs to be publicly accessible:
MODC_DOI_MINT_URL_ROOT = 'https://mytardisdemo.erc.monash.edu'
A DOI can be minted from the Django shell (mytardis.py shell_plus) as follows:
>>> from django.core.urlresolvers import reverse
>>> from tardis.apps.publication_workflow.doi import DOI
>>> doi = DOI()
>>> experiment_id = 105
>>> doi.mint(experiment_id, reverse('tardis_portal.view_experiment', args=(experiment_id,)))
10.5072/20/TEST_DOI_5a14bcdd0f309
Now http://dx.doi.org/10.5072/20/TEST_DOI_5a14bcdd0f309 should resolve to https://mytardisdemo.erc.monash.edu/experiment/view/105/.
We can then deactivate this DOI until the required publication criteria are met:
>>> doi.deactivate()
(reply){
   serviceId = "514a087f-30eb-4860-a0ad-79a92e875564"
   responsecode = "MT003"
   message = "DOI 10.5072/20/TEST_DOI_5a14bcdd0f309 was successfully deactivated."
   doi = "10.5072/20/TEST_DOI_5a14bcdd0f309"
   url = None
   verbosemessage = None
 }
If we need to look up the same DOI later, e.g. after exiting the Django shell and starting a new one, we can create a DOI instance with an existing DOI:
>>> from tardis.apps.publication_workflow.doi import DOI
>>> doi = DOI('10.5072/20/TEST_DOI_5a14bcdd0f309')
>>> doi.activate()
(reply){
   serviceId = "514a087f-30eb-4860-a0ad-79a92e875564"
   responsecode = "MT004"
   message = "DOI 10.5072/20/TEST_DOI_5a14bcdd0f309 was successfully activated."
   doi = "10.5072/20/TEST_DOI_5a14bcdd0f309"
   url = None
   verbosemessage = None
 }
For a complete list of the possible response codes, see: https://documentation.ands.org.au/display/DOC/Cite+My+Data+M2M+Service+Responses